Creating a New Configuration File
Halogen configuration files store the details of your HAL audio system design(s). There are multiple reasons and methods for creating these files. The most common approach is to design your system in offline mode , save the configuration to a file, and then apply the file to a live HAL device. There may, however, be situations in which you want to save the configuration on a live HAL device to a file. The following tasks outline the steps involved for each of these scenarios:
- From the File menu in the application toolbar, click New:
 This action clears the Halogen Workspace so you can begin creating your new configuration. Don't worry about losing data, however. Halogen warns you (unless you have disabled this feature) if you are about to lose any data and gives you the opportunity to save it to a file before continuing. When you click New, Halogen displays a window that lists the available HAL models and lets you choose one for your configuration:
 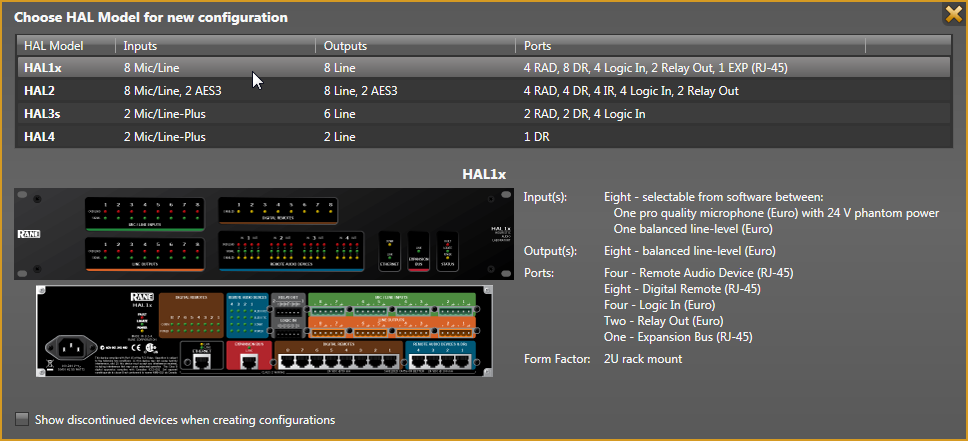 A configuration contains a single HAL device, which cannot be changed once you have created it.
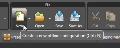
Another way to choose a HAL model and begin a new configuration is to click on the dropdown arrow just to the right of the New button:

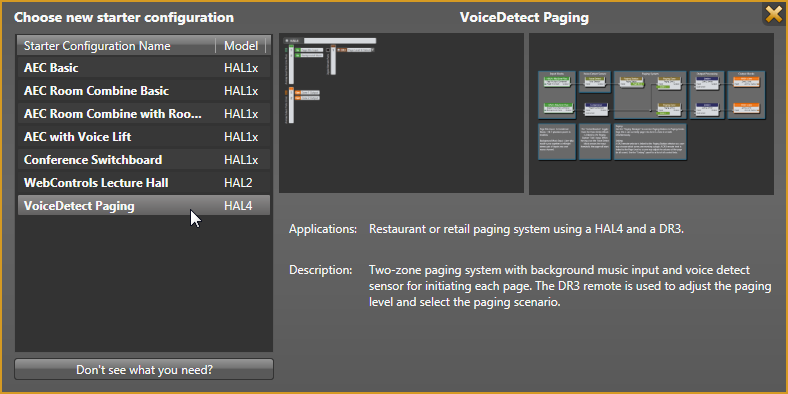
tip: Halogen includes a set of example configurations that you can use to start your configuration. These starter configurations include several audio applications, and you can access them in the New dropdown menu as shown above. (See Choose Starter Configuration)
note: Halogen does not show discontinued HAL devices in the HAL model picker dialog or in the New dropdown list unless you enable them. In the New dropdown, click on Show Discontinued Devices to view discontinued models. In the model picker, check the Show discontinued devices when creating new configurations checkbox. More more information about discontinued HAL models, see Discontinued HAL Models.
- Create the contents of your configuration file (your system design). In reality, we know that this is much more than a single step! We'll gloss over those minor details for now, however.
- From the File menu in the application toolbar, click Save or Save As.
- When prompted, type the filename for this new configuration file. All Halogen configuration filenames have an extension of
.haland, by default, are stored in theC:\\Users\<username>\My Documents\Halogen Configsfolder. You can save the file to a different location if desired, however.
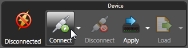
- Connect to the HAL device. From the Device menu in the application toolbar, click Connect
- From the File menu in the application toolbar, click Save or Save As.

- When prompted, type the filename for this new configuration file. All Halogen configuration filenames have an extension of
.haland, by default, are stored in theC:\\Users\<username>\My Documents\Halogen Configsfolder. You can save the file to a different location if desired, however.
 See Also
- About Halogen Configuration Files
- Apply Configuration to Device Dialog Box
- Applying a Configuration File to a HAL
- Creating a New Configuration File
- Creating, Viewing, and Modifying Notes about a HAL System Configuration
- Get a Configuration from a HAL
- Loading a Configuration File to a HAL
- Saving a HAL Configuration to a File
- Working with Halogen Configuration Files